The grid provides an overview of the hours that you have registered in the week that is displayed. The grid shows a summarized version of all time registrations within a week. Time registrations are added up and shown grouped by customer, task and day.
The “Hours” column displays the quantity in the “Budget hours” from the task.
If you wish to create a new time registration, it is possible to use the time registration area mentioned above, but it is also possible to double-click a cell in the grid. The time registration window will open with the task and date already selected.

Double-click the Monday-cell and the time registration window appears:
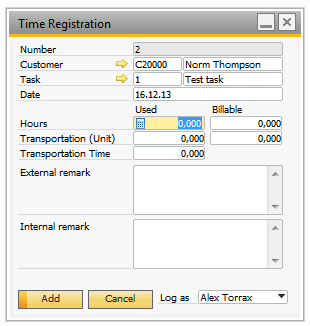
Notice that the date field and the task and customer fields have been filled with the appropriate values.
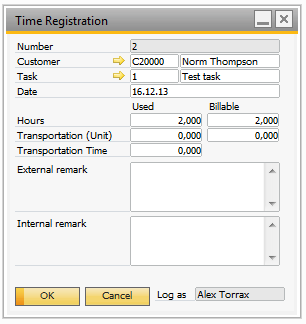
If you double-click a cell that already contains a number, it means that one or more time registrations already exist for that task on that day. If one time registration exists, that registration will open like this:
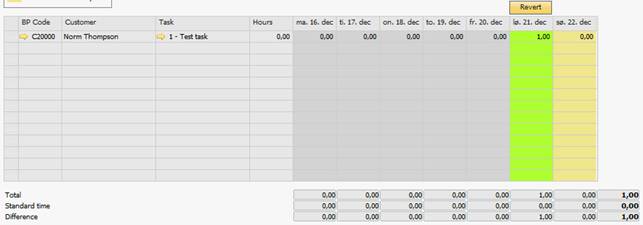
Double-click the cell:

And the time registration opens:
If more time registrations exist on the same task on the same date, the following window will appear after the double-click:
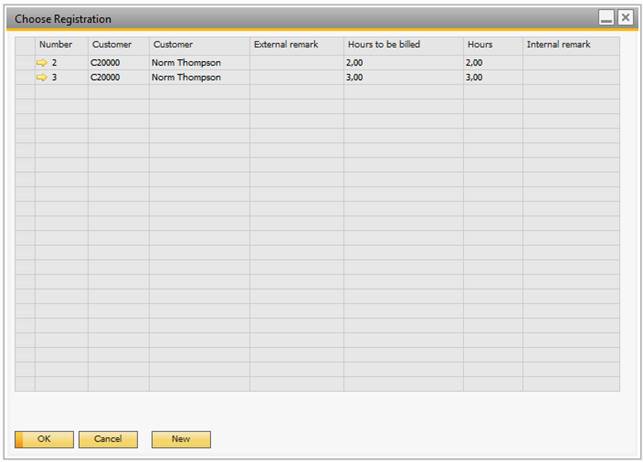
This window displays all the time registrations that have been created on the task on the particular day. You can open one of the time registrations by selecting the row you want (click on the grey square on the left) and pressing the OK-button. I you want to create a new time registration, you can achieve this by pressing the New-button.
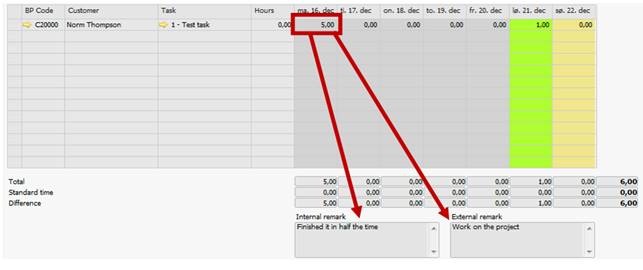
If you want to see the remarks that have been entered in the time registration, you can single-click a cell in the grid. The remarks will appear in the boxes below the grid like this: